Shrinkage – What’s wrong with percentages? Part 1

Now down to business. Anyone who has been at one of my workshops has heard my tirades about this subject. Using percentages to calculate the end result of your felting is wrong. It is wrong – mathematically, logically and importantly feltingly. (Is there such a word? There is now.) When someone says “it shrank by about 30%” could very well be correct BUT you can only calculate that after you have made the felt and NOT before. So instructing, advising or informing someone to just add 30% to the size of their template is WRONG!

For those who are not familiar with shrinkage a little lesson first.

We all know that felt shrinks. The age old question has always been by how much. Well that depends on multiple factors:

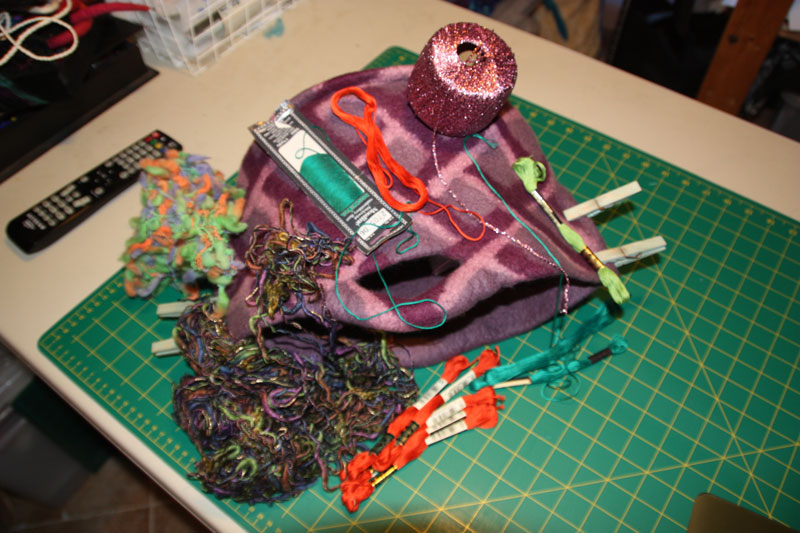
the wool – species, micron size, colour, coarseness, fibre length.
the number of layers of wool – odd, even.
what you add to the felt – silk, fabric, decoration etc.
rolling and sanding – which direction, how many times, evenness.
tossing and tumbling – which direction, how many times, evenness.
which way you held your tongue in the corner of your mouth..
I think we’re all getting the picture. There are plenty of things that affect shrinkage. So how can we possibly calculate shrinkage? Make a sample first. This is a pretty good motto for all craft, firstly if you have never made this particular combination of the factors (listed above) before, how do you what’s going to happen? I would rather make a mess of a sample and learn from my mistakes than waste my resources on a larger piece that can not be salvaged and is doomed for the BOYD pile.

Secondly, it is the ONLY way to calculate shrinkage.

So enough ranting for one post, next post will explain the mechanics of calculating shrinkage.

Keep felting! Soosie 🙂

BOYD The Purple Bag

This one was a little harder than the cozy, mainly because the colours were so strong they dominated any view of the bag. One side had what I called lattice work and the other eyes. Again this forlorn piece was brilliantly made. It had a beautiful retro 50s shape to it – which is probably what drew me to it, it reminded me of my grandmother’s handbag (which I still have). It was fully fulled, strong and wonderfully constructed. A lot of thought had gone into its construction – no visible seams or stitching, sturdy handles and reinforced bottom edge all perfect for a handbag.

The creator told me she was experimenting with a 3D look, wanting it to appear as tumbling blocks or bulging eyes, in an Escher-esque style, so hence the combination of colours. It nearly worked. I couldn’t see anything but the purple until I piled a whole pile of stuff around it. I would shuffle it every day; add some, take some, move some, until I placed the green glass beads next to it and Voila! I could see past the purple.

Next dilemma was what pattern or design with which to use the beads. The lattice was relatively easy to imagine but the other side gave me some grief! Firstly I thought of peacock feathers using the eyes as the eye of the feather but the scale was wrong. I tried to make petals to surround to eyes but again the scale was wrong. Eventually I decide to make flowers similar to a passionfruit flower. I forgot to take a photo of that side which I will rectify next Toss’n’Tell. (lol).

CPR applied:

1. Applied steam to reshape the bag.

2. Stuffed and pegged it into shape.

3. Couched the yarn to make the vine.

4. Stitched on the beads. Cut the leaves from left over foiled felt.

5. Glued on the leaves.

6. Cut – “Angel Hair” circles and millefiori felt beads, stitched beads to top and glued the lot on.

7. Glued on the leaves.

The lattice work side.


The eye side. The pegs were there to redefine the shape.


Stuffing the bag helped regain its wonderful shape.


Gathered stuff – waiting for the design to “come on down”. Pegs still attached.


Autumn – lattice side finished with vine and fruit.


Eye side with prospective peacock feather. Didn’t work – in the end they became Summer – vine and flowers.